


How To Build & Install Your Own Kitchen Cabinets
Senco Collated Screw Systems Nailers Projects & Applications Articles Stanley Bostitch Tools & Fasteners How-To Instructions
October 28, 2014

Chilly temperatures and shorter periods of daylight mean one thing - winter is near. With Halloween less than a week away, it's time to start thinking about the indoor projects you've been putting off all summer. If you're looking to renovate your kitchen, consider building and/or installing your own kitchen cabinets - a project that can save thousands of dollars if done correctly.
Before you start, make sure you are up for the challenge. If you've never tackled a project like this before, you might want to purchase pre-built cabinets and jump straight to installation. If you decide to start from scratch, keep in mind this project will take a good amount of time and dedication to complete - especially for larger kitchens. However, for the master woodworker, the end result could be well worth the time - just make sure you have a helper or two for lifting and mounting.
Building Your Cabinets
If you are starting from scratch, make sure you have the proper materials. Traditionally, cabinets are about 24" deep and 34.5" tall - with a 25" deep counter top - which adds up to an overall height of 3 feet. To calculate the placement for upper cabinets, add 18" to 20" to the counter height. Subtract the difference from your overall ceiling height to determine the size range available for your upper cabinets. Keep in mind, regular wall cabinet depth is 12" to 14". Lower cabinet width can range from 12" to 60" - divided down in 3" increments. Make sure you also account for door size when planning the size of your cabinets.
Next, you will need to cut your materials for assembly. For the sides, appearance really doesn't matter (unless it's an edge cabinet) - as long as your material is sturdy enough to support the cabinet, counter and all of the contents inside your cabinet. You might find that 3/4" plywood or manufactured board works well. Once the sides have been cut to proper dimensions, clamp your two sides together and use a saw to cut out a toe-kick (notch) where the base of your floor cabinets will be. For upper cabinets, you will not need a toe-kick. To finish up prepping material, cut the bottom panel, the face panels, as well as two base panels and two top braces - base panels and top braces not needed for wall cabinets.
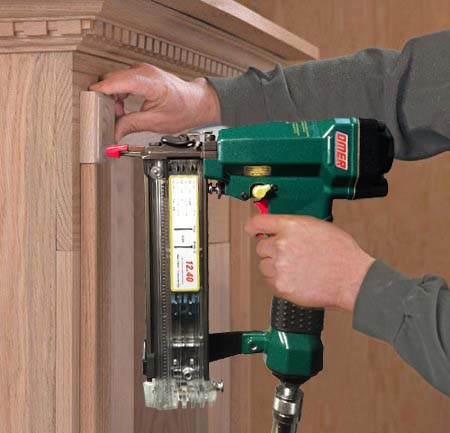
Moving to assembly, you will want to put together the base first. Make sure you have a high-quality wood glue and power drill or screw gun available for this step, as you will attach your base panels to the bottom panel. Make sure to allow the proper amount of space for your toe-kick before gluing together. Drive screws into the base panels to confirm a secure fit. Add your side panels, secure the top braces, and nail the back on using a finish nailer. Use braces or corner brackets to secure the unit and reinforce its integrity. Install shelves and face panels before attaching your cabinets to the wall.
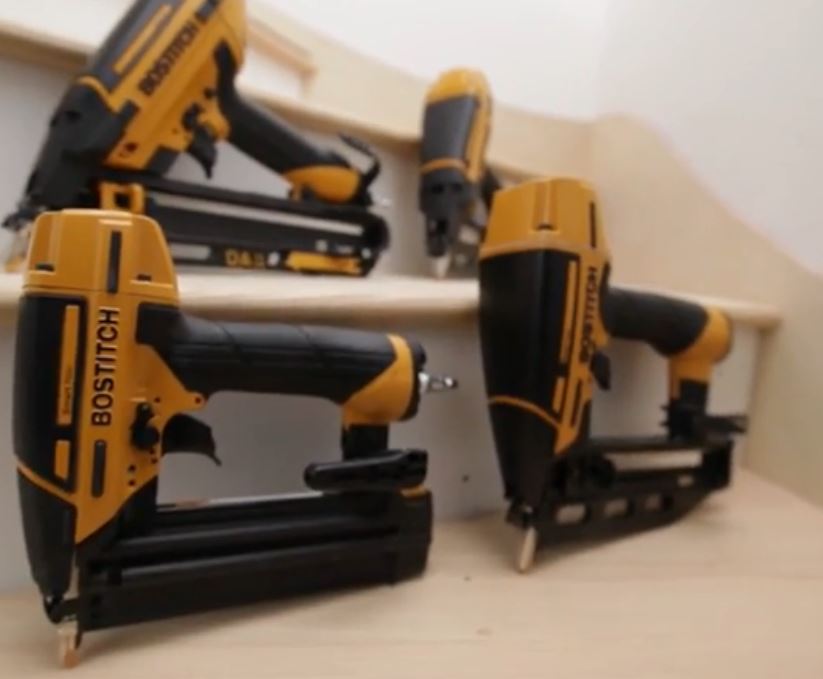
Depending on the thickness of board you are working with, Bostitch is now offering its all-new Smart Point line of finish nailers. Smart Point finish nailers feature a unique nose that increases the capability of these tools - while decreasing the amount of damage caused to a surface during firing.
Installing Your Cabinets
For time conscious DIYer's and renovators that skipped the previous steps and purchased pre-built cabinets from the store, it's now time to install your new kitchen cabinets. Installation is relatively easy - especially for floor cabinets. Simply fit your cabinets where they are intended to be installed, and drive screws through the back panel into studs in the wall. For wall cabinets - where additional support is imperative - you will also need to secure "L" brackets into studs in the wall, to help support these hanging cabinets at their base.
To drive screws quickly and effectively, we recommend a Senco DuraSpin Screw Gun. With several different fasteners to choose from, the new Senco DuraSpin comes highly recommended by many of the Pro's.

Fit your door panels and fasten - assuming they haven't been installed yet. Depending on the type of kitchen cabinet you are building or installing, you will also have to install your counter, sink, decorative trim or any additional accessories not mentioned.
Be sure to pay careful attention to manufacturer specs on any material or pre-manufactured goods. Always follow manufacturer assembly, installation and safety requirements. Keep in mind that this is an overview of tips and tricks for kitchen cabinet assembly and installation. Every kitchen is different, and might require additional steps or measurements be taken.
~ The Nail Gun Depot Team