FEATURED CATEGORIES
FEATURED BRANDS
FEATURED APPLICATION
October 4, 2018
Rebuilding A Paslode PowerMaster Nailer
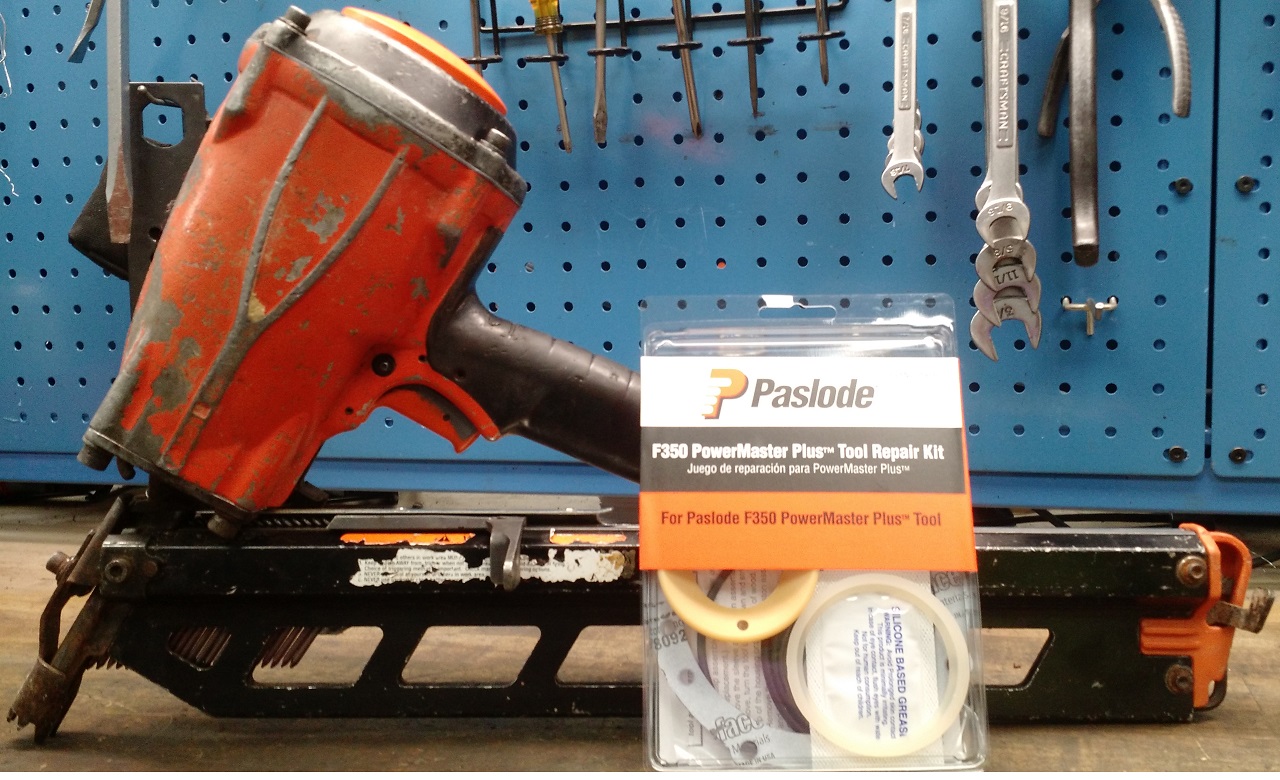 We’re rebuilding a Paslode PowerMaster F350 using the 219235 PowerMaster Plus Tool Repair Kit. The kit's instructions are very helpful in rebuilding the Paslode's F-350S (#501000), F-350P (#515000), and F-250S-PP (#500855) air nailers. But, should you need a little visual aid, follow along with us. For extra help, see your specific tool’s manual for the parts diagram.
Tips:
- Gather the needed items, below, on a clean, flat surface.
- Disconnect the tool from air supply, if you haven’t already, and remove any fasteners.
- As you disassemble the parts, line them up, so you know which order to reassemble them.
What You’ll Need:
- Paslode F350 PowerMaster Plus Tool Repair Kit (contains 9 O-rings, 1 cap gasket, 1 sleeve seal, 1 spring, silicone-based lubricant, instructions)
- Paslode pneumatic tool oil
- 3/16" hex key (Allen wrench)
- Snap ring pliers
- Pick tool or stick pin
- Clean rag
Steps:
1. Using the hex key or Allen wrench, unscrew the four bolts on the nailer cap. Pull off the old gasket. 2. Using a hex wrench, loosen and remove the head valve.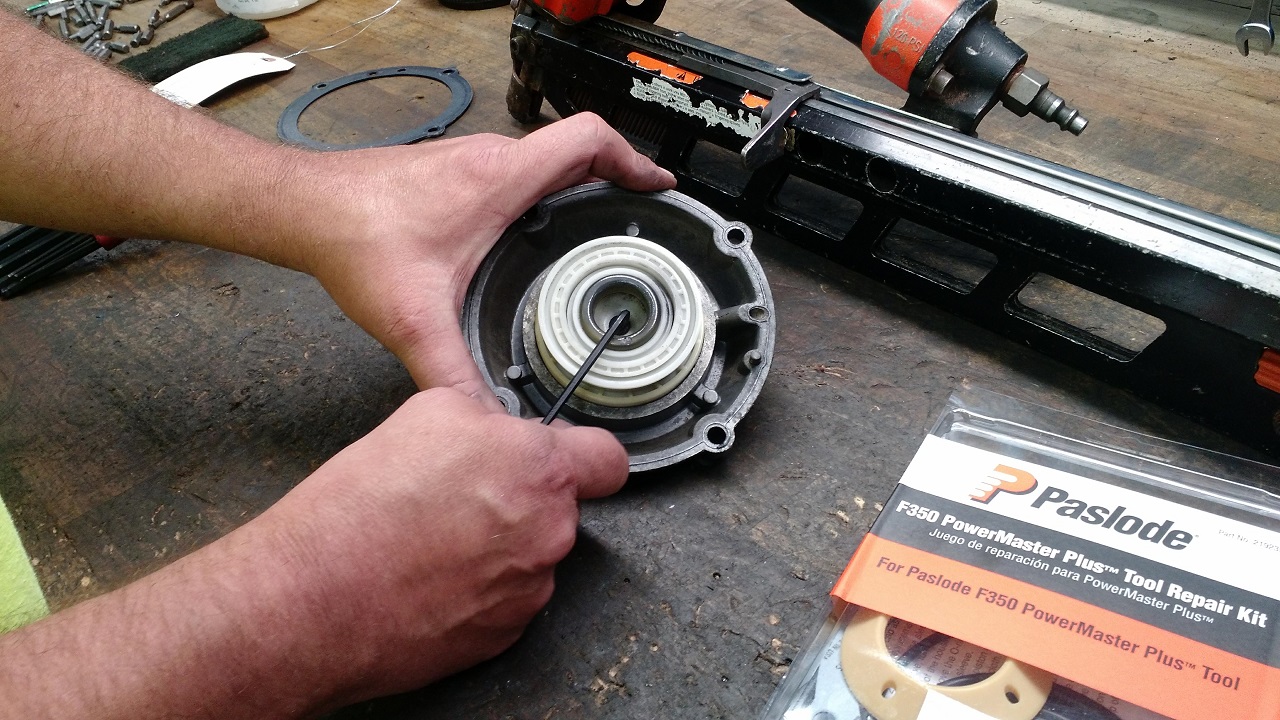 Main Valve O-Rings
3. Using the snap ring pliers, remove the snap ring.
4. Using a stick pin or pick tool, remove the two O-rings in the main valve.
5. Add the new O-rings and lightly grease with the silicone-based lubricant (219188).
Pro Tip: Use only silicone-based lubricant (grease) on the O-rings. Break grease and other types can clog your tool and cause the O-rings to swell.
6. Place the snap ring back in. Then, remove the old spring, and set it aside to replace later.
Main Valve O-Rings
3. Using the snap ring pliers, remove the snap ring.
4. Using a stick pin or pick tool, remove the two O-rings in the main valve.
5. Add the new O-rings and lightly grease with the silicone-based lubricant (219188).
Pro Tip: Use only silicone-based lubricant (grease) on the O-rings. Break grease and other types can clog your tool and cause the O-rings to swell.
6. Place the snap ring back in. Then, remove the old spring, and set it aside to replace later.
 Head Valve O-Rings
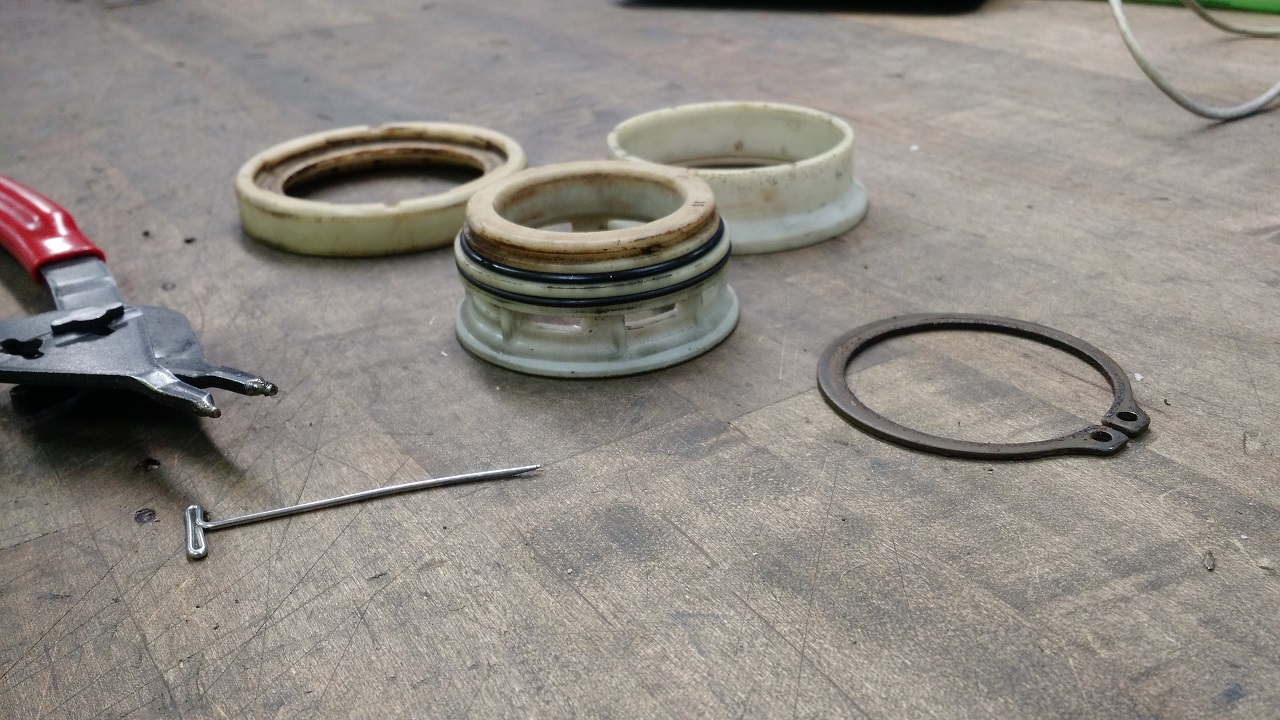
7. Using a stick pin or pick tool, remove the outer and inner O-rings on the cap.
8. Using a clean rag, wipe out the old grease on the cap.
9. Replace the outer O-ring, and lightly grease it.
Head Valve O-Rings
7. Using a stick pin or pick tool, remove the outer and inner O-rings on the cap.
8. Using a clean rag, wipe out the old grease on the cap.
9. Replace the outer O-ring, and lightly grease it.
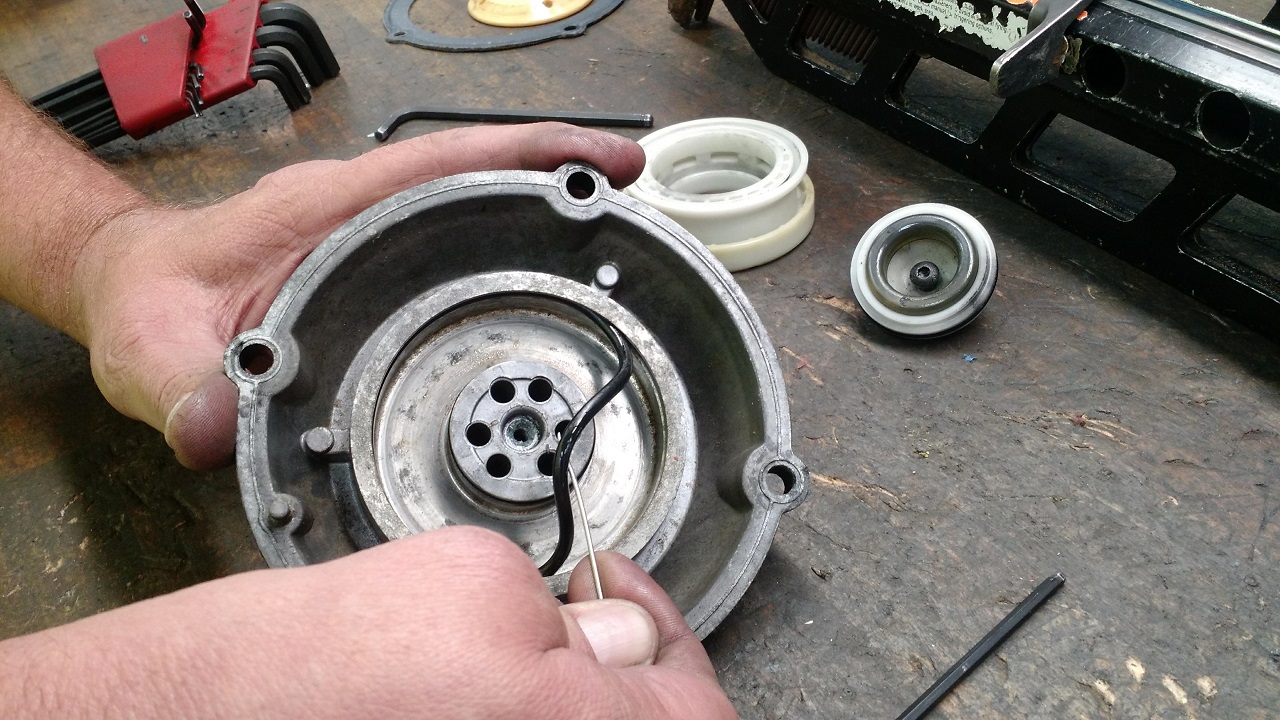 10. Remove the inner O-ring and replace with the new. Apply a thin layer of grease to the inner O-ring.
11. Now, replace the old spring with new (500407). Set the head valve atop the spring.
12. Apply Paslode tool oil to the outer and inner O-rings.
13. Press the head valve on the spring, pushing down a few times to work the oil in.
Post O-Rings
14. Remove the old O-ring on the post. Add a new O-ring to the post and grease it.
15. Put the post back into the head valve and use a hex wrench to tighten it.
10. Remove the inner O-ring and replace with the new. Apply a thin layer of grease to the inner O-ring.
11. Now, replace the old spring with new (500407). Set the head valve atop the spring.
12. Apply Paslode tool oil to the outer and inner O-rings.
13. Press the head valve on the spring, pushing down a few times to work the oil in.
Post O-Rings
14. Remove the old O-ring on the post. Add a new O-ring to the post and grease it.
15. Put the post back into the head valve and use a hex wrench to tighten it.
 Piston Sleeve O-Rings
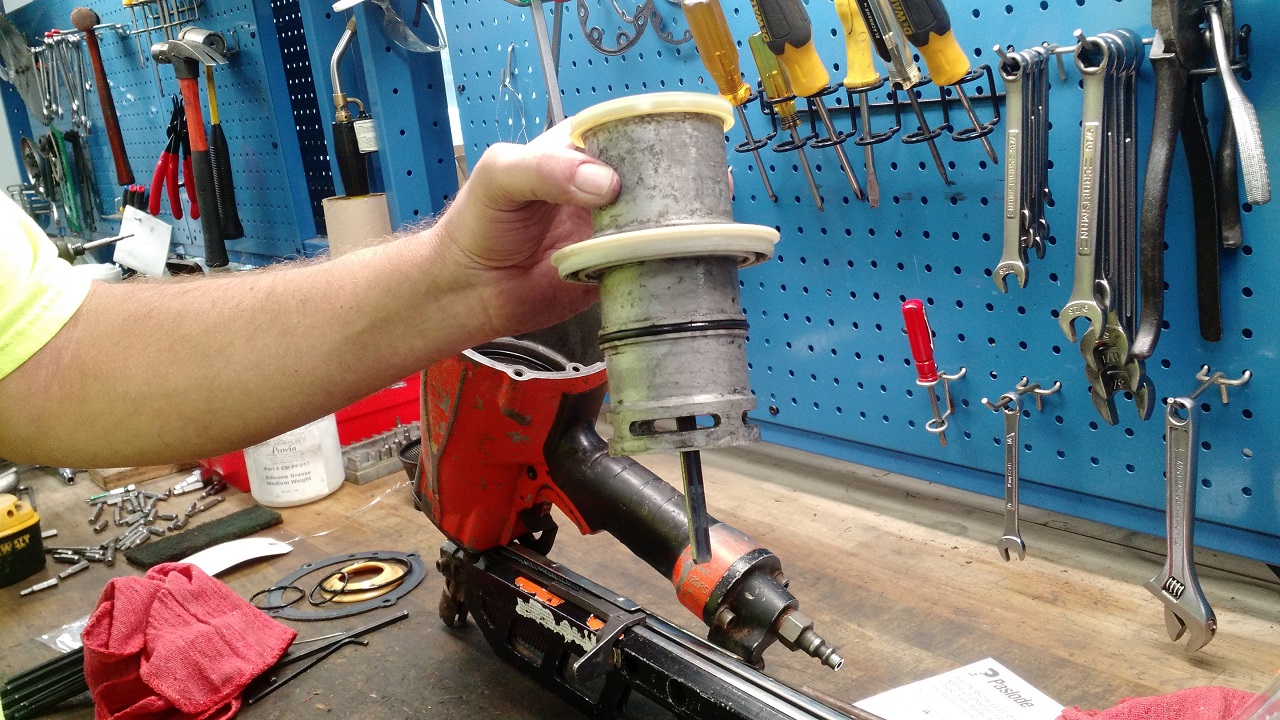
16. Remove the piston sleeve, then remove the piston inner assembly.
17. Remove the sleeve seal. If the seal is stubborn, use a flat-head screwdriver to pry it off.
18. Replace the sleeve seal with the new one, popping it into place.
Piston Sleeve O-Rings
16. Remove the piston sleeve, then remove the piston inner assembly.
17. Remove the sleeve seal. If the seal is stubborn, use a flat-head screwdriver to pry it off.
18. Replace the sleeve seal with the new one, popping it into place.
 Flange O-Rings
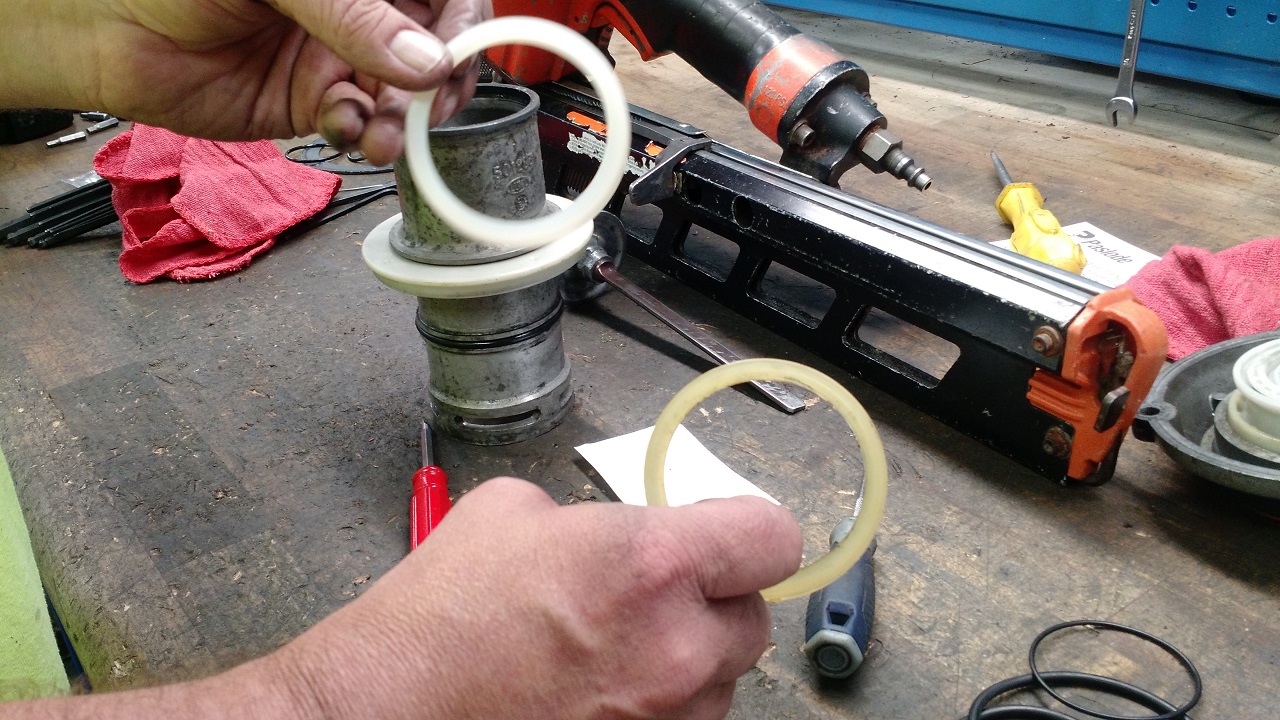
19. Remove the flange. You may have to tap gently with a mallet to loosen it.
20. Remove the fist O-ring from the piston sleeve, then remove the second.
21. Replace with the new O-rings. Grease only the top O-ring. The bottom O-ring has holes under it that allow air to escape when the tool is functioning, so it should not be greased.
22. Pop the flange back in.
Flange O-Rings
19. Remove the flange. You may have to tap gently with a mallet to loosen it.
20. Remove the fist O-ring from the piston sleeve, then remove the second.
21. Replace with the new O-rings. Grease only the top O-ring. The bottom O-ring has holes under it that allow air to escape when the tool is functioning, so it should not be greased.
22. Pop the flange back in.
 Main Body O-Ring
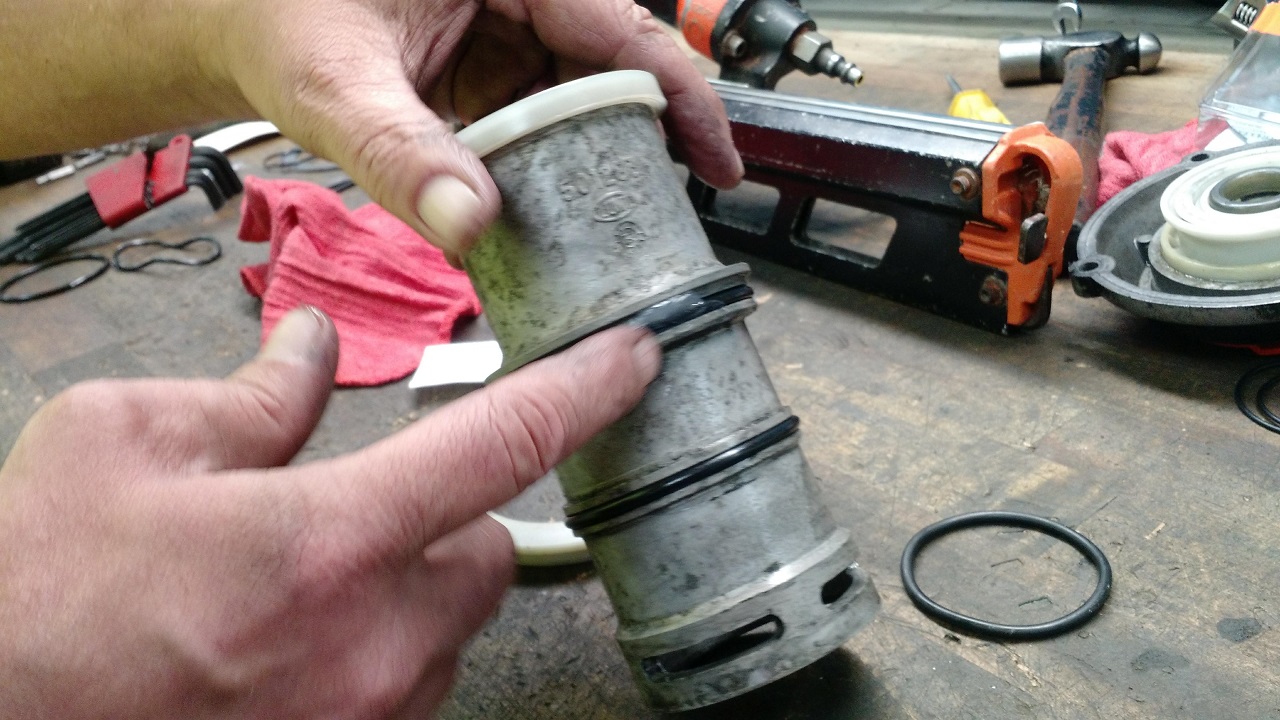
23. Remove the O-ring in the body (outer flange) of the tool. Put the new O-ring into the body, resting it on the inner “ledge.” Apply a thin layer of grease to the O-ring.
Main Body O-Ring
23. Remove the O-ring in the body (outer flange) of the tool. Put the new O-ring into the body, resting it on the inner “ledge.” Apply a thin layer of grease to the O-ring.
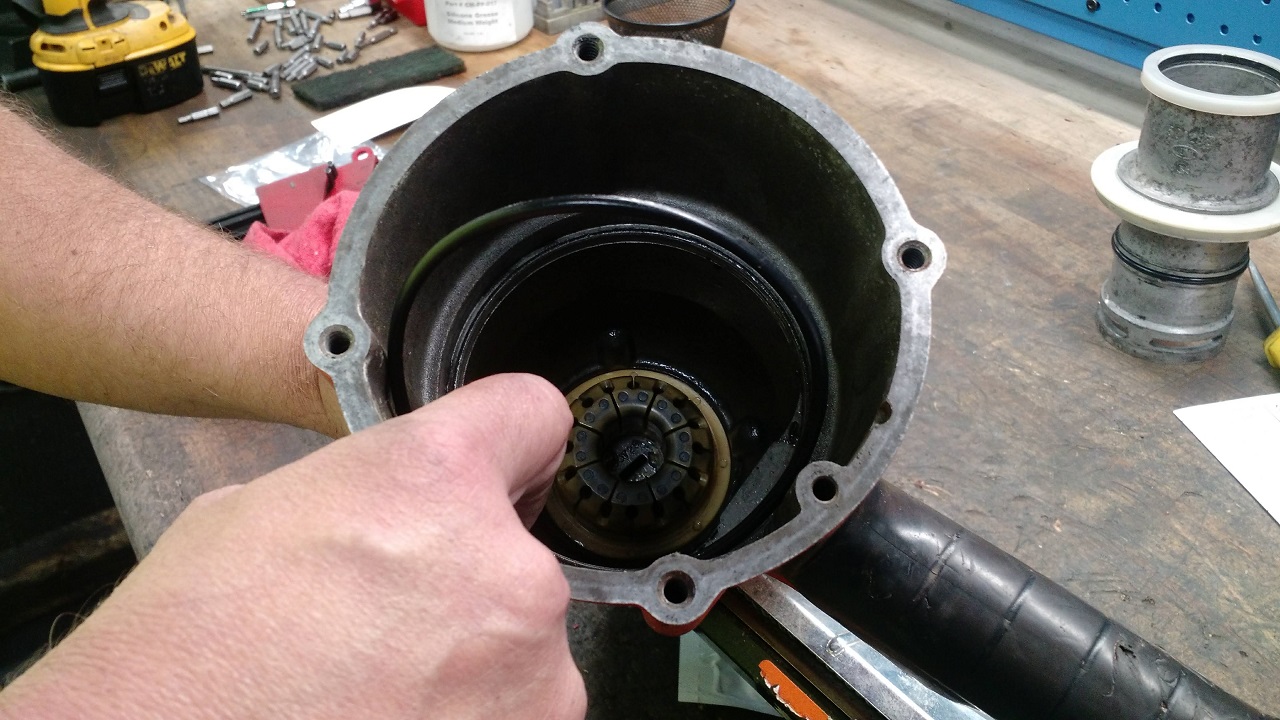 24. Put the cylinder back into the tool body, snapping it into place.
25. Remove the piston O-ring. In this case only, you’ll apply grease to the O-ring BEFORE you place it on the tool. Once greased, place it on the piston.
26. Place the piston driver assembly back in the tool. Make sure that the piston driver’s bevel tip is pointing in the right direction, facing the nailer handle and magazine.
24. Put the cylinder back into the tool body, snapping it into place.
25. Remove the piston O-ring. In this case only, you’ll apply grease to the O-ring BEFORE you place it on the tool. Once greased, place it on the piston.
26. Place the piston driver assembly back in the tool. Make sure that the piston driver’s bevel tip is pointing in the right direction, facing the nailer handle and magazine.
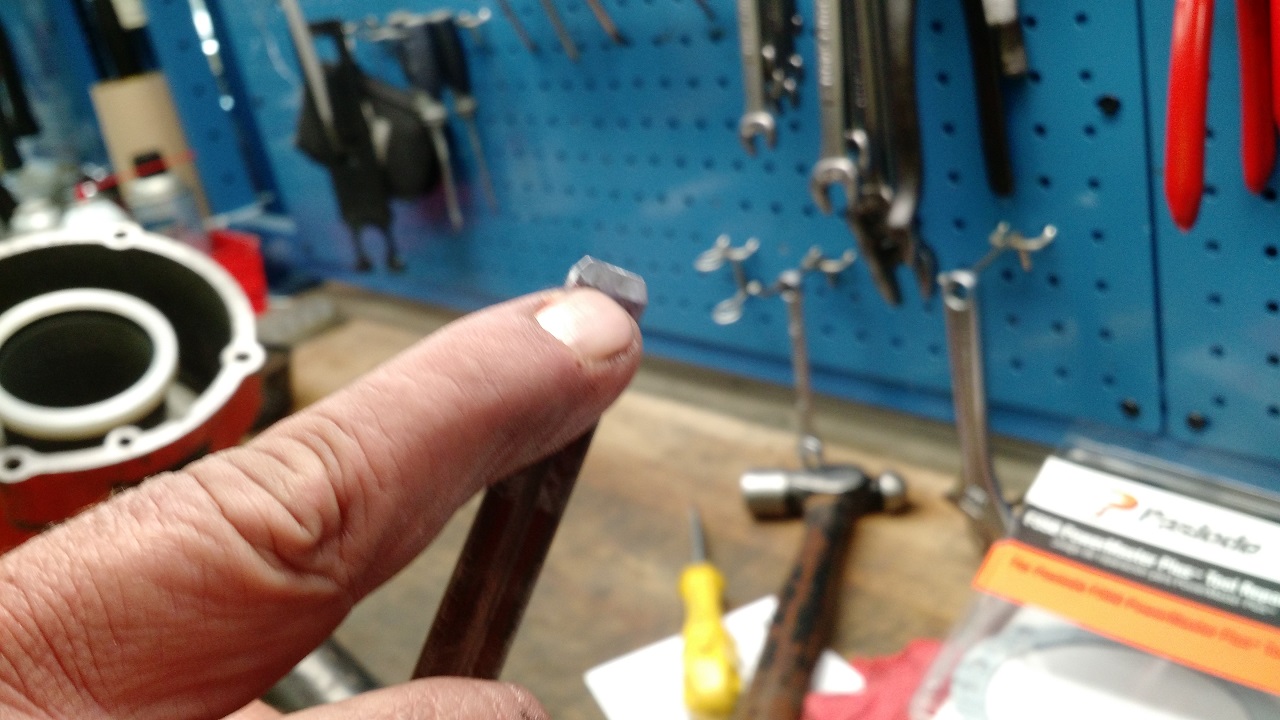 Pro Tip: if the beveled edge of the driver is not correctly placed, nails will jam/skip when firing.
27. Put in the new gasket, either side facing up
28. Replace tool's cap, lining up the stud to fit into the notch. Tighten the screws snugly on the cap. Do not over-tighten.
Pro Tip: if the beveled edge of the driver is not correctly placed, nails will jam/skip when firing.
27. Put in the new gasket, either side facing up
28. Replace tool's cap, lining up the stud to fit into the notch. Tighten the screws snugly on the cap. Do not over-tighten.
Test Firing the Nailer
Add tool oil to your nailer and reinsert fasteners. Then do a few test fires on a scrap piece of wood to ensure the gun shoots properly and leaks are resolved. These instructions coincide with the following tools only: Paslode F-350S (#501000), Paslode F-350P (#515000) and Paslode F-250S-PP (#500855). For additional information, contact an authorized service center. You can find this and other Paslode nail gun repair kits on Nail Gun Depot.~ The Nail Gun Depot Team
Join Our Mailing List
Sign Up For Nail Gun Depot supply news, savings and access to exclusive deals. Subscribe Today!
Phone: 1.888.720.7892
Email:sales@nailgundepot.com
Monday - Friday
8:00 AM - 4:30PM EST
All trademarks and brands are property of their respective owners
Privacy Policy | AI View